Knuckle Down Mitts – a pattern

Hi everyone, this is going to be my first ‘for sale’ pattern. I am testing this out as a paid pattern, because i really feel like i’ve done something unusual with the design and construction.


EDIT: The pattern is now available on ravelry for download for A$2. I’m very excited!

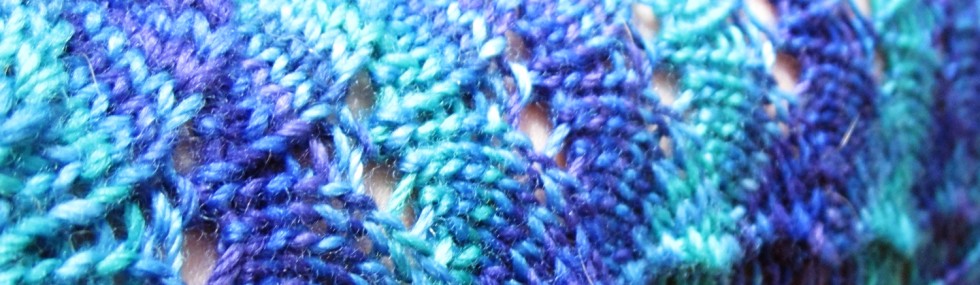
You will need about 150m of worsted weight. I worked my first pair in Zitron Opus 1, a beautiful self striping. Vintagenettles is working hers in Malabrigo. delicious! These would also be amazing in Noro Kureyon or any other self-striping worsted weight. You will also need a large number of buttons, so don’t go crazy here!

As I said, the construction is a little unusual, so PLEASE read through the pattern before starting and DO ask if you have any questions or problems with it! Feedback is great!

The lovely Vintagenettles is currently test knitting and hopefully i will have some gorgeous photos from her up here soon.


As Promised…

As I promised Sharon, this is a post about my favourite scarf.

Working a yarn store, I get to see the nummiest yarns as they came in. When RYC Baby Alpaca DK arrived I just KNEW i had to have it wrapped around my neck in some form! I could picture the scarf i wanted and spent weeks working out the ideal way to create it. This is what i came up with* in order to create the perfect striped skinny scarf

Materials: 2 balls each of RYC Baby Alpaca Southdown (A) and RYC Baby Alpaca Lincoln (B) (or any complementary DK weight yarns)

a set of double pointed 5mm needles (or circular for magic loop)

Method:

With col A cast on 36 stitches (or twice as many stitches as would give you your desired width). Join for working in the round.

knit 6 rows.

Without breaking col A, join col B.

knit 6 rows with col B, carrying col A up the centre of the tube, catching it with col B to keep it neat.

continue in this way, alternating A and B until scarf is desired length. My scarf ended up around 2.75m long and i finished with col B.

sew in ends and wash and dry (or whatever blocking method you use) so that scarf sits flat with one ‘edge’ being where you’ve changed colours.

The result?

I apologise for the wip photo, but in the 2 years i’ve had this i haven’t taken a photo of it in it’s full finished form!! I will try to get one soon to replace this one!

*I’m sure I’m not the first person to come up with this, and i won’t be the last, but i did make this up from scratch, with no reference to an existing pattern.

Bags!

Last night the lovely penelopewaits let me use her sewing machine to create two more christmas presents.

I had the idea of creating some cute little satchel style bags for my cousins who are 6 and almost 9. They’re still at an age where i like to do something the same but different at christmas, so I found the most adorable fabric in two different colour schemes and  then found 2 matching fabrics for each… Then i kinda worked out how i wanted the bags to look in my head and folded some paper to get a size.

At essie’s last night, I got some butcher paper and a quilter’s rule and cut out a nice series of rectangles. Es and her partner helped me decide on which fabric should go where and then i was left to my own devices… the result?

There are three sections – the main bag, a large front pocket and a little inside pocket (for lipbalm and precious things not mobile phones!!)

They have interfacing and are pretty stiff and any quilter or sewer would probably turn their nose up at my seams! The straps almost had to be a bit of an afterthought – i kinda didn’t think them through enough, but i really like the positioning and it means you can see all three fabrics from the front.

I made the pink bag first and there were many instances of dopey brain which resulted in unpicking and resewing, so it took me a lot longer than the second bag. All up from cutting patterns to finishing sewing, they took me about 4 and a half hours.

I ❤ them and I hope my cousins will too!


if people want a basic outline of how to make these, let me know and i’ll take the measurements and write up a basic tutorial

correction

sigh – my first correction already for the Cable Car Sock pattern

In the Toe section, R7 and R9 are the wrong way round.
you should read R7 as R9 and vice versa.
so they should be :
R7: k1, k2tog, k to 3 stitches before marker, ssk, k1, c3f dec, work centre of pattern pattern to 3 stitches before marker, c3b dec
R9: k1, k2tog, k to 3 stitches before marker, ssk, k1, k2tog, work pattern to 2 stitches before marker, ssk

The file in the previous post will be adjusted to Cable Car Sock v2 for anyone want to download it with corrections.

My Very First Pattern!

Huzzah! I have written up my very first pattern – my self-designed Cable Car Socks.

Cable Car Socks

They were created from Mountain Colours Bearfoot in the ‘Meadow’ colourway, which i purchased at Knitty City in NYC (after eyeing it off at String Theory in Illinois). I wanted a simple pattern to show of the yarn that was a bit more interesting than plain ribbing. I couldn’t find anything and so I used my initiative and the maths I learnt in school to work out a cable pattern. I could SEE it in my head, it was awesome. Used what I knew about sock construction to create these!

The dual cable runs down the front and back, with a single cable either side of the front dual cable. The back cable runs into the heel flap. I’m quite proud of that bit! Having just been to San Francisco, with their famous cable cars, the ‘tracks’ of the cables reminded me of the cable cars (also, the word is the same :)) and lo, they were named.

And so, this fine sock pattern, dutifully test knitted by the lovely Auntiejan and Shoshanah from Ravelry, is now available for you to download, completely free! Whilst I have made edits based on these lovely ladies’ feedback, there may still be changes to be made or errors to be spotted, and I hope to replace some of the images with the socks from the test knits as mine are a bit worn already!!

But for now, here it is – CABLE CAR SOCK PATTERNv2 .